

How to Camp and Make it a Trip you will never FORGET!

By Storm De Beul
Camping is a great way to let go of stress and bad emotions. Nowadays almost everyone has a busy life. You might have children, a 9-5 job, a social life and a house.
It all takes time and attention, and at the end of the day, you’re exhausted.
Camping can give you a break from deadlines, school projects, social media and your daily life. It gives you the opportunity to step back a few days and take it easy.
And let’s not forget that you get back in touch with nature, which benefits your health. By being in nature you heal yourself, both emotionally and physically.
On top of that, camping can save lots of money which means you can stretch your vacation if your work allows it.
If you’re reading this, you’re probably new to camping and want to learn it. Nowadays information is everywhere, but it’s all scattered around the web and that makes it frustrating to learn something new.
In this guide, you can find a lot of useful information to ensure a safe and enjoyable camping trip.
Planning your camping trip
Planning is key in camping. If you don’t do it right, you’ll probably have an unpleasant experience. This section of the article will help you with planning your camping trip from scratch.
Activities
The first thing you want to think about is your choice of activities. Do you want to go rafting? Biking? Hiking? Canoeing? It may be a smart idea to choose a camping spot from which you can easily access these activities.
Wild camping
In my opinion, camping in the wild provides the best camping experience. The same can be said for you if you want something adventurous or relaxing, with few other people around.
The landscapes are beautiful and peaceful, which makes it possible to really connect with nature.
However, you need to be more self-sufficient compared to camping on a campsite. And let’s not forget that it’s illegal in many countries or regions. So make sure you do some research beforehand. This page could help you with that.
Finding wild camping spots
Finding wild camping spots can be a difficult task because you are looking for a secluded spot and therefore not popular. To help you, I have figured out a few methods to find a good wild camping spot.
- Read blog posts of people who have already made a wild camping trip through the country you would like to visit. For example this guy. He has hiked almost 1000 miles through Switzerland. He wrote about the routes, the costs, the weather, useful apps and much more. He gives a ton of information that could help you.
- Use Microsoft’s Bing maps. This article explains how to find nice spots with the help of this tool.
- Ask the locals for advice.
- Investigate a few Facebook groups. They usually have people discussing nice places. Groups like Wild camping UK, Wild camping Scotland and Wild camping Ireland are great examples.
- In Canada and the US, you can camp in National Forests, on grasslands, on the Bureau of Land Management, and on Canadian Crown land. You might want to do some research because there could be exceptions. Maybe there are mining activities or other things going on there that prevent you from camping.
You can also camp in the backcountry of National Parks. However, you will need a permit. To find out more about this, simply Google ‘the National Park’s name’ + ‘backcountry permit’.
Camping in campsites
The most popular type of tent camping. You don’t have to do a lot of research, which makes it much easier.
This may be the best type of tent camping for you if you are a beginner, or if you plan on camping with your family. Campsites are often equipped with playgrounds, which are meeting places for children. There are usually showers and toilets ready for use, and you can socialize with your neighbors if you wish to do so.
But unlike wild camping, it does cost money. Most campsites charge per tent, but some charge per person.
Campsites tend to be busy and not really relaxing because of the number of people, especially children. A mini campsite could be something for you if you agree with that.
Finding campsites
Finding campsites is not difficult at all. Here are some tactics:
- Use Hipcamp. You can find many campgrounds in National Parks or Historic Parks like Washington Crossing. It also shows you what activities are available, like wildlife watching, paddling, hiking, camping, biking, fishing and more.
- Google ‘best campsites in’ + ‘the country or region‘. Keep in mind that these campsites could be overcrowded.
- Just type ‘your destination’ + ‘campsites’ on Google.
- The Campermate app (Australia & New Zealand only).
- The Dyrt app (US only).
- Coolcamping has a database containing countries like Spain, Switzerland, Greece, England, Italy and many more.
- If you want to camp in a national park in Canada and the USA, just type in Google: ‘National Park’s name‘ + ‘campsite’. You should land on a website where you can make a reservation. This is required due to COVID-19.
Mini campsites
A mini campsite is nothing more than a large campsite, in most cases a farm, with only a few places to camp. It’s very difficult to see your neighbors, and it’s even harder to hear them.
From experience, I can tell that people are much nicer, and once in a while, you can talk to the owners because they live there.
Actually, I just got back from a 2-week family camping holiday at a mini campsite in France. Because of the peaceful environment, I was able to write a lot of articles. This is the mini campsite if you’re interested.
The only disadvantage of a mini campsite is that the toilets and showers tend to be far away. Sometimes I had to run to reach the toilet in time.

Finding mini campsites
Mini campsites may be more difficult to find. They’re quite unpopular in America, but they are popular in Europe and especially in the Netherlands. I did some research and found a website that has a specific mini campsite database. I was also able to find some mini campgrounds on Recreation.
When to go camping
There is no real answer to this question because it comes down to personal preference. However, you should consider a number of things.
Weather
Do you want to camp in cold or warm conditions? Your answer to this question will affect your choice of gear. When camping in cold conditions, you need a 4-season tent, a warm sleeping bag and much more. I explain all that in detail on this page.
Camping in winter is more difficult and dangerous compared to camping in summer. You need to be well prepared, and forgetting an item can lead to an unpleasant or even dangerous experience. That’s why you might want to reconsider going on a cold-weather camping trip if it’s your first time camping.
Other people
You may want to avoid high season and holidays if you don’t want to see other people. It will be much easier to find quiet locations if you camp in the wild. Campsites are often flooded during these periods, so it’s often not as relaxing as you’d hoped.
Breeding seasons
During certain months of the year, wild animals can take over the forest. Bears and deer are making babies, and as you might want to know, bears with cubs around them are extremely dangerous. They want to protect their babies and can attack without warning. If you are planning to camp in bear country, I suggest you take a look at my entire guide on bear safety.
What to bring
If you’re a beginner, there’s no need to get the most expensive stuff. However, there are some things that should be of good quality. Otherwise, they can easily fail you and ruin your experience. For example, a quality tent is definitely a must-have. A bad tent can suddenly break or let water through.
That’s why it’s important to do some research before you buy something. I write many reviews that may help you find quality gear that is suitable for your personal situation. This best 8-person tents article, for example. Make sure you check it out if you need a tent to go camping with your family.
Choosing a tent
Of all the things you take with you, a tent is the most important part. It will be your home for a while, so it’s important that you choose one that suits you.
Below are some things to take into account when choosing a tent.
- Size – How many people do you plan on camping with? Please note that tents advertised as e.g. 8-person tents only have room for 4 people (+ gear) to sleep comfortably. There is only room for 8 people if you sleep very close to each other.
- Space and weight – When backpacking, space and weight are important factors to take into consideration. This is less important when camping or traveling by car.
- Weather – You need a tent that can withstand bad weather if you plan to camp in stormy circumstances.
- Ventilation – Some tents have many ventilation holes, which is a blessing on hot days, but a curse in cold conditions.
- Tent porch – Do you consider a tent porch as a must-have? You can use it as a cooking area, which can be very useful in case you’re camping in rainy conditions.
- Price – Are you looking for a budget tent or an expensive tent? It’s true that expensive tents are generally better in quality compared to budget tents. However, there are still good tents available at a reasonable price.
What about a bivvy bag?
A bivvy bag is a bag made of a lightweight, waterproof and breathable fabric. It goes around both your sleeping mat and sleeping bag.
It’s often a good choice for the backpackers among us. It’s light, packable and easy to set up, which makes it a great tent alternative. However, it also has its downsides such as loss of privacy, condensation and lack of space.
Clothing
It’s not like you need special clothing for camping. In most cases you can wear whatever you wear at home; something comfortable. You may not want to set up your tent, hang a hammock and collect firewood in tight jeans.
Also, keep in mind that your clothes are most likely going to get dirty. Either by ashes from the fire pit or by setting up your tent.
In some cases, you will need ‘special’ clothing due to bad weather or low temperatures. Then you will also need to know how to layer clothing and what to wear in rainy conditions. Here are some tips:
- Avoid cotton when camping in humid, cold or hot conditions. It dries slowly, doesn’t wick moisture away, encourages bacterial growth, and is heavier than synthetics or merino wool. That’s right, merino wool and synthetics like fleece are the go-to materials.
- If it’s extremely cold, then you should layer your clothing. You can find more information on this page.
- I also like to bring a waterproof jacket, pants and a rain cover for my backpack. The pants and cover are very handy and have saved me in many situations. You can just put the waterproof pants over your trousers, and the backpack’s rain cover prevents water from seeping in.
- Another great tip I would like to give you is to bring clothes for cold weather, even when it’s hot during the day. I made the mistake of thinking like this: ‘What? 90 degrees! I don’t need these fleece pants’, and end up shivering during the night because I only packed shorts. Also bear in mind that the weather may change during your camping trip.
Camping checklist
When packing for a camping trip you might be worried about forgetting something important. To help you, I did some research and found the best checklists. Both for camping and backpacking.
Both checklists contain a lot of items, and you don’t have to take them all with you. You have to decide which items are worth taking. Your list depends on where you are going, the time of the year, the duration of your trip and the activities you want to do.
Campsite Checklist – It’s printable, and it’s the best checklist that I could find.
Backpacking Checklist – When backpacking you want to keep in mind that you’ll have to carry every item you bring with you. So choose your items carefully and only bring the items that you think are worth carrying.
Both these checklists don’t mention something that I find very handy: a hand crank charger. This may not be necessary when camping on a campsite, but it can save your life if you camp in the wild. You can charge your phone with it and all you need is muscle power.
However, charging a smartphone can be a pain in the butt. That’s why I advise bringing a classic Nokia 3310, for example. These types of cellphones also use much less battery power and thus will die less quickly.
A solar power bank is also very useful in my opinion. The solar panels convert sunlight into electricity, which charges the power bank. You can keep charging your electronics as long as there’s sunlight available.
Your backpack
This section is meant to answer some questions you might have about your backpack. What kind of backpack do you need? How heavy can your backpack be? How big should it be? How do you organize all your stuff? All these things play a big role in having a comfortable trip.
The three types of backpacks
There are three kinds: the internal frame backpack, the external frame backpack and the frameless backpack.
With the internal backpacks, the frame is on the inside and with the external ones on the outside. The frameless backpack simply doesn’t have a frame.
All three have their pros and cons. The best one for you mainly depends on what you value and your personal situation.
Internal backpacks: pros and cons
- Better balance – Your backpack sits tight against your back, allowing you to move your weight and posture with more precision. This makes it superior in situations where you have to clamber and shift your weight.
- Gear protection – You’re able to put most of your gear inside your backpack, which is not possible with an external backpack. This eliminates the risk of your equipment being damaged by branches or sharp surfaces and protects it from rain.
- Packability – An internal backpack is smaller and more compact, making it easier to travel with.
- Adjustable straps – The adjustable shoulder straps make it easy to modify the backpack to your height, or lend it to a friend of a different height.
- More comfort – Most internal frames consist of two diagonally placed aluminum bars. They bend according to the shape of your back, which makes wearing your backpack more comfortable.
Here are some downsides of an internal frame backpack:
- Often cause a sweaty back.
- Generally more expensive.
- More weight on the shoulders, and less weight on the hips. This makes it more difficult to carry a heavy load.
- You need to lean more forward in order to transfer your weight to your lower body. That’s because internal backpacks carry the weight lower than external ones.
- Not made to strap things your like sleeping pad and sleeping bag on the outside.
External backpacks: pros and cons
For this, just switch the pros and cons of the internal backpack. So that makes:
- There’s more space between your back and the backpack, resulting in more ventilation.
- More budget-friendly.
- Less weight on the shoulders, and more weight on the hips, which makes it easier to carry a heavy load.
- You don’t have to lean forward so much in order to transfer your weight to your lower body.
- Easier to strap gear on.
The downsides are:
- Decreased balance due to the space between your back and the backpack.
- Some items, such as your sleeping mat or bag, are exposed to sharp surfaces and branches, making them vulnerable. These items are also not protected from the rain.
- External backpacks are bigger and bulkier.
- The adjustable straps usually have a limited reach.
- Less comfort.
Frameless backpacks: pros and cons
- Weight & capacity – They weigh less because there is no frame and unnecessary parts. They’re also lighter due to the reduced capacity. Whether this is a pro or con depends on your personal situation. Because there’s no frame, the weight is not distributed evenly, resulting in less comfort. This makes the frameless backpack not suitable for long walks.
- Price – Frameless backpacks are generally cheaper because they’re smaller and don’t have a frame. That’s why they may be of interest to you if you’re looking for a budget-friendly backpack.
- Simplicity – Framed backpacks have many zippers, compartments and straps. These are more things that can break and complicate. But you can also see it as an advantage. All compartments make it easier to organize your stuff and the straps give you more comfort.
- Comfort – Because there’s no frame, you have to organize your gear in a way that it’s comfortable for you. You are able to position your stuff in such a way that you create a supportive back construction.
Backpack weight
The weight of your backpack is determined by a few things:
- Trip duration – You need more food, fuel and water on longer trips.
- Weather – In winter you need thicker and heavier clothing than in summer.
- The amount of non-essential items – This comes down to personal preference. You may want to bring a hammock, a thick sleeping pad, or wear a new shirt every day.
So how heavy is too heavy? Well, people like to stick to the ‘20% of your body weight’ rule, which I don’t think makes sense.
Just think about it.
A strong 150-pound young man shouldn’t carry more than 30 pounds. While an unhealthy 220-pound person would be able to carry 44 pounds.
So as you can see, there are more things besides your body weight that determine your maximum backpack weight.
Things like your health, muscle ratio and age play a much more important role. My backpack usually weighs around 35 pounds (16 kg), and my body weight is around 145 pounds (65 kg). That’s 24 percent of my body weight. However, I have no problem carrying all that weight because I’m young, strong and have a low body fat percentage.
If you want to get fitter and stronger, I suggest you do some backpacking exercises. They are a great way to strengthen the necessary muscles and joints.
Here are some tricks that may help you make your backpack lighter:
- Renew your gear – Older gear is much heavier than new gear. That’s because the manufacturers are able to make it lighter every year. My dad’s backpack weighed around 45 pounds (20 kg) because he went backpacking in the ‘80s. So you may want to consider buying new gear, and not using your grandfather’s.
- Only bring the essentials – Maybe don’t bring the hammock or other luxury items. They can make your trip more comfortable, but not if they make your backpack too heavy. Also, make sure that you don’t bring too much clothing and food.
- Repackage – By repackaging all your food you not only save weight but also a lot of space. Zipper bags are in my opinion the best repackaging bags. They’re lightweight, reusable and resealable. You can repackage a part of your toothpaste or sunscreen in reusable plastic bottles.
Repacking spices is also a great idea because the original package is often made of glass, which is heavy compared to plastic. So you can repackage the necessary amount with plastic bags.
You could leave the stuff sacks at home to reduce weight.
However, I believe that they’re worth the weight because they make it much easier to organize your backpack.
You can also put your sleeping bag, tent, tent poles and stakes directly into your backpack and leave their sacks at home.
Backpack capacity
It’s important that your backpack is big enough so that you can bring all your necessary gear. The size of your backpack is determined by the length of your trip and the weather. Longer hikes require more space, and colder conditions ask for more clothes and thicker sleeping bags.
Food
How many calories do you need per day?
As a beginner, you probably don’t know how much food to take with you. That’s why many newcomers bring way too much food and have a lot of food remaining when they have the opportunity to refuel at a grocery store.
You might think: better to eat too much than too little.
And you’re right but you don’t want to take way too much food with you. So in order to be able to estimate the amount of food, you first want to estimate the calories needed.
Don’t worry, I found some websites that do the work for you.
But first, let me explain to you what factors decide the required amount of calories. Anything that makes it more intense for you will make you burn more calories.
- Trail intensity – The intensity of a hike depends mainly on 3 things: its distance, duration, inclinations and the angle of the inclinations.
- Bodyweight – If you weigh more, you naturally burn more calories.
- Backpack weight – The heavier your backpack is, the intenser your hike will be, and the more calories you’ll burn. That’s why it’s important to bring enough lightweight food. Foods that are (freeze) dried are interesting because they’re light due to their low water concentration, and remain edible for quite a long time.
I found a calculator that takes all these factors into consideration and gives you an estimate. That estimate is good enough, but you can’t forget to include your Basal Metabolic Rate (BMR), the number of calories you burn if you don’t do anything at all, like sleeping or waiting for your water to finally boil.
However, you doing nothing is just an illusion, your body actually works non-stop. You constantly breathe, circulate your blood, make new cells and much more. All this work to keep you alive requires energy, also known as calories.
So what is your BMR? Well, this depends on a few things.
- Height – The bigger you are, the more energy your body needs to function.
- Weight – Your weight also plays a role. The more you weigh, the more calories you need.
- Age – As you get older, your total muscle mass decreases and you get fat mass instead. Fat tissue requires less maintenance than muscles. That’s why your BMR will also decrease as you age.
In order to estimate your BMR, I advise you to use this page.
Then to finally come down to your final number, sum up your BMR and your required amount of calories per day. You may be surprised by the number of calories, however, hiking can be intense.
It’s definitely a great sport to lose some weight.
In general, 4500 calories weigh 2 pounds (0.9 kg). That’s why it might be smart to plan a route where you’ll come across several grocery stores or gas stations.
However, you probably won’t find freeze-dried food there. So it may be smart to pack a lot of unusual food and less of the food you’ll find in any grocery store.
Food for camping in a campsite
At home, you have a refrigerator, an oven, a microwave, and more than enough space. While camping, you most likely only have a cooler and not so much space. So you may want to bring fewer ingredients.
But that doesn’t mean that you should eat boring meals every day.
Here are some foods that are easy to make but are still delicious. Decide for yourself which ones are interesting and write the ingredients down to make our own food-checklist.
- Tacos– You can choose the ingredients in this case, but you can make it easy and just use eggs, corn, cheese and some bacon.
- Burritos– Also very easy to make, and you can prepare them in your campfire.
- Cheese fondue – For this recipe, you only need cheese, some herbs and bread or vegetables.
It’s very easy to make and you can prepare it above your campfire.
- Pasta – You can make a lot of easy meals with pasta. Spaghetti is the most popular one.
However, if you’re looking for something without meat, I suggest you take a look at this page.
- Shrimps– If you like to eat shrimps, I’m sure you’re going to love this recipe. It’s very simple. All you need is some butter, shrimps, herbs and lemon.
Just follow the recipe. Wrap it in tin foil, let it cook, and that’s basically it.
- Campfire veggies – A great meal for the vegetarians among us. It’s healthy and easy to make.
It’s literally just chopping up some veggies, adding olive oil, and sprinkling it with some herbs.
- Grilled potatoes – A delicious recipe for anyone who loves the combination of potatoes, bacon, melted cheese, and ranch dressing.
You wrap it in tin foil and bury it between some hot coals. You can also prepare it with a grill.
Backpacking food
It’s not going to be that easy for backpacking food. You can’t just bring eggs, meat and veggies along the trail. You have to go easy on weight, and more importantly, they’ll rot after a short period of time.
When choosing backpacking food, there are four things that you should take into consideration:
- Is it nutritious? It’s important that you bring food that contains a lot of fat, carbs and protein. Fat is important because you’re going to burn a lot of it.
Protein is also important. You need it to make enzymes & hormones, and it provides you with energy. Carbs are also a source of energy. In case you’re on a keto diet, I suggest you take a look at this page.
- Does it weigh much?
- Does it take a lot of space?
- How fast does it become uneatable? You’ll need food that doesn’t rot quickly because you don’t have a cooler.
Also, don’t forget to bring some salt. You’re most likely going to lose a lot of salt through sweating. However, most foods have enough salt in them, but you can never be too safe.
Meals are often going to be simple and repetitive. Just make sure that you bring food that you like to eat.
Here are some foods that are a great choice for a backpacking trip.
Snacks
Snacks will make a huge part of your daily eating schedule. They’re easy to eat, don’t require preparation and are nutritious. Here are some snacks that meet the requirements.
- Energy bars
- Protein bars
- Banana chips
- Dried fruit
- Cookies
- Gummy bears
- Seeds with a high protein content
- Chocolate
- String cheese
- Beef jerky
- Nuts
Food
These foods need some time to prepare but are worth waiting for.
- Freeze-dried food – By freeze-drying your food you can store it for up to 25 years. That’s why it’s often considered astronaut food, but it’s also interesting for backpackers. It’s light because 98% of its water has been removed.
And the best thing about it? It returns to its original state when you mix it with water. Most of its flavor, color, shape and texture returns. This videoshows you how it’s done.
The only downside is that it’s expensive because freeze-drying is not cheap and time-consuming. You could do it yourself, but the required gear is not on the cheap side.
However, if you really want to have a freeze-drying machine, you can make one yourself. This video shows you how.
- Dehydrated food – You may want to dry food if freeze-drying is not an option for you. A food dryer is much cheaper and definitely worth it.
I use it to dry fruit and meat but you can also use it to dry vegetables like seaweed.
Dried food is light, packable, nutritious and delicious, and therefore very interesting for backpackers.
- Instant food – This is food that has been precooked. You can eat it after letting it sit in boiling water for about 5 minutes. There are a lot of choices such as instant rice, soups, mashed potatoes, couscous, oatmeal and more.
Instant food may sound attractive due to the low preparation time, but you should know that they often contain lots of salt and sugar.
You may also want to know that the mixture and the number of its nutrients may vary from its original form. I suggest this page if you want to know its nutrition facts.
Instant noodles are pretty unhealthy due to their extremely high salt concentration. However, most of its salt is within the flavor packet. It’s the same as a bouillon cube, and if you ever tasted that, then you know that it’s very salty.
So you’re better off only using a portion of the flavor packet. You can also toss it and use freeze-dried vegetables instead, and boost the flavor with a responsible amount of salt.
- Sandwiches with honey or peanut butter.
- Noodles
- Bulgur
- Hummus
- Pasta
- Hard cheese – It will stay good for some time due to the low water concentration, but that depends on the temperature. If you’re backpacking in 90 degrees for multiple days, it’s best to leave your cheese at home.
However, in temperatures that are less extreme, cheese can stay good for up to 2 weeks without the need for a fridge. Some cheesy examples are cheddar, Parmesan, aged mozzarella and Asiago.
How to choose your camping spot
Knowing how to choose a camping spot is crucial knowledge for a good night’s sleep and your safety. Here are a few things to pay attention to.
- Surface – Before putting the tent on the ground, make sure that there are no sharp objects, stones or roots underneath. Also, try to find an even surface. If that is not possible, sleep with your head on the higher ground, which is most comfortable.
Make sure you don’t put your tent in a place where puddles are likely to form when it rains.
- Sun – Depending on the temperature, you want to put your tent in the shade or in the sun. If you’re camping in winter, you want to put your tent in a place where the sun shines on your tent at sunrise.
- Water – The perfect campsite has easy access to a water source. For safety reasons, make sure you pitch your tent at least 200 meters from the water.
- Trees – They provide shade on hot days and protect you from high temperatures. However, know that camping under them is dangerous in windy conditions. Not to mention, you might end up with bird poop on your tent.
Also, always check for dead trees or branches around your potential camping spot, they could easily fall.
- Ventilation – On hot days you want to set up your tent in such a way that the door is facing the wind. It allows for some ventilation. On the other hand, you don’t want to do this in cold conditions.
- Wind – If you experience heavy winds, you can pitch your tent in an enclosed space. This ensures that your tent doesn’t turn into a kite.
- Rockfall – Don’t pitch your tent next to a gathering place of rock debris. That’s just asking for trouble.
- Flooding risk – Camping next to a river can be fun, but not with heavy rainfall. There is always the possibility that the river floods. So be careful and put your tent at a reasonable distance from the river.
- Toilets and showers – You may not want to walk 200 yards when nature calls on you in the middle of the night. However, keep in mind that the closer you get to the facilities, the noisier it will be.
How to camp in the rain
It happens to all of us, planning a camping trip and then receiving some bad news from the weather forecast. Whatever… this won’t hold you back. But it may be smart to know how to camp in the rain, right?
So here are some tips that could help you:
- Commitment is the first step. Negative thoughts result in negative feelings, so just don’t do that. Keep it positive and try to see the good in your situation.
Accept that you’re going to get wet and it’ll be much easier for your mind!
- Bring an umbrella. I don’t like these things and actually almost never use them, however, in this case, it could come in quite handy. For example, if you’re cooking, you can sit on the ground and let the umbrella shaft on your shoulder.
It’s also your portable shelter for if you need to take a pee in the middle of the night, or if it’s just raining too hard while you’re hiking.
- Set up your camp under a natural shelter. Try to use leafy trees, overhanging rocks, caves for this purpose.
Just make sure that it’s safe!
- Bring an extra groundsheet. Groundsheets are probably your best friend when camping in the rain. If you have a very big one and are able to bring it.
If you can’t bring such a big tarp you can make something smaller.
You can even sleep under it and leave your tent at home, but that’s for you to decide.
You can also use it as a cooking/sit area. However, if you’re camping in bear country, make sure you cook far enough from your sleeping place.
If you hang it higher, you can even set up your tent underneath so that it doesn’t get wet during the process.
- Separate your wet gear from your dry gear. Wetness is like a virus. If you let it touch your dry stuff, it’s just a matter of time before it gets contaminated.
That’s why it’s smart to leave your wet gear outside your sleeping area.
Of course, don’t put it in the rain, but rather make use of your tent’s vestibule. If your tent doesn’t have that, put all your sick gear in a stuff sack or dry bag.
Whenever you have the chance to dry your gear, dry it. Mold spores can grow if you’re not careful… and that stuff smells even worse than crap!
- Use your trash bags. If you don’t have confidence in your gear’s waterproofness, you can upgrade it with trash bags.
It maybe doesn’t look so fashionable but it’s very effective and a cheap solution. Heavy-duty trash bags don’t cost a lot of money and are completely waterproof.
Just wrap it around your gear, secure it and you’re good to go! In case your backpack isn’t waterproof, you may want to use a waterproof backpack cover. Just make sure that it’s the right size.
How to make tent camping comfortable
The first thing you want to do after a whole day of hiking, is getting comfortable. So… how do you do that?
Before we dive into this, I want you to know the truth, which is that tent camping is not the most comfortable type of camping. However, with these tips you can still make the best of it.
Ensure you have a good location
There’s nothing worse than having to sleep on a bumpy floor. So start with choosing a good location:
- Don’t set up your tent on stones, roots or anything uncomfortable.
- If it’s warm, keep your tent out of the sun. If it’s cold, do the opposite.
- Don’t camp too close near a water source. It may not only be dangerous but it may also be too loud.
- Ensure that there’s enough ventilation in your tent.
- Don’t camp too far away from the toilets and showers, but also don’t camp too close since it may be too noisy.
Comfortable gear = comfortable camping
It all starts with your gear. If you screw that up, you can say goodbye to a good night’s sleep.
- Sleeping bag – Make sure you bring a sleeping bag with the right temperature rating for where you’ll camp.
If you don’t, it may be too cold or too hot during the night.
- Sleeping pad – Avoid closed-cell foam sleeping pads. Although they do a great job in keeping you protected from the coldness of the floor, they’re not comfortable. So if you can, avoid them.
Instead, choose an air pad if you don’t have to worry about coldness, it’s the most comfortable type of sleeping pad.
If you do need to worry about coldness at night but also want to have some comfort, you can maybe go for a self-inflating sleeping mat. It blocks the cold for a decent amount and doesn’t sacrifice too much comfort for it.
- Eye mask – This may not be necessary, just keep in mind that your tent won’t block the sun.
Depending on where you go, it can also be light very early in the morning.
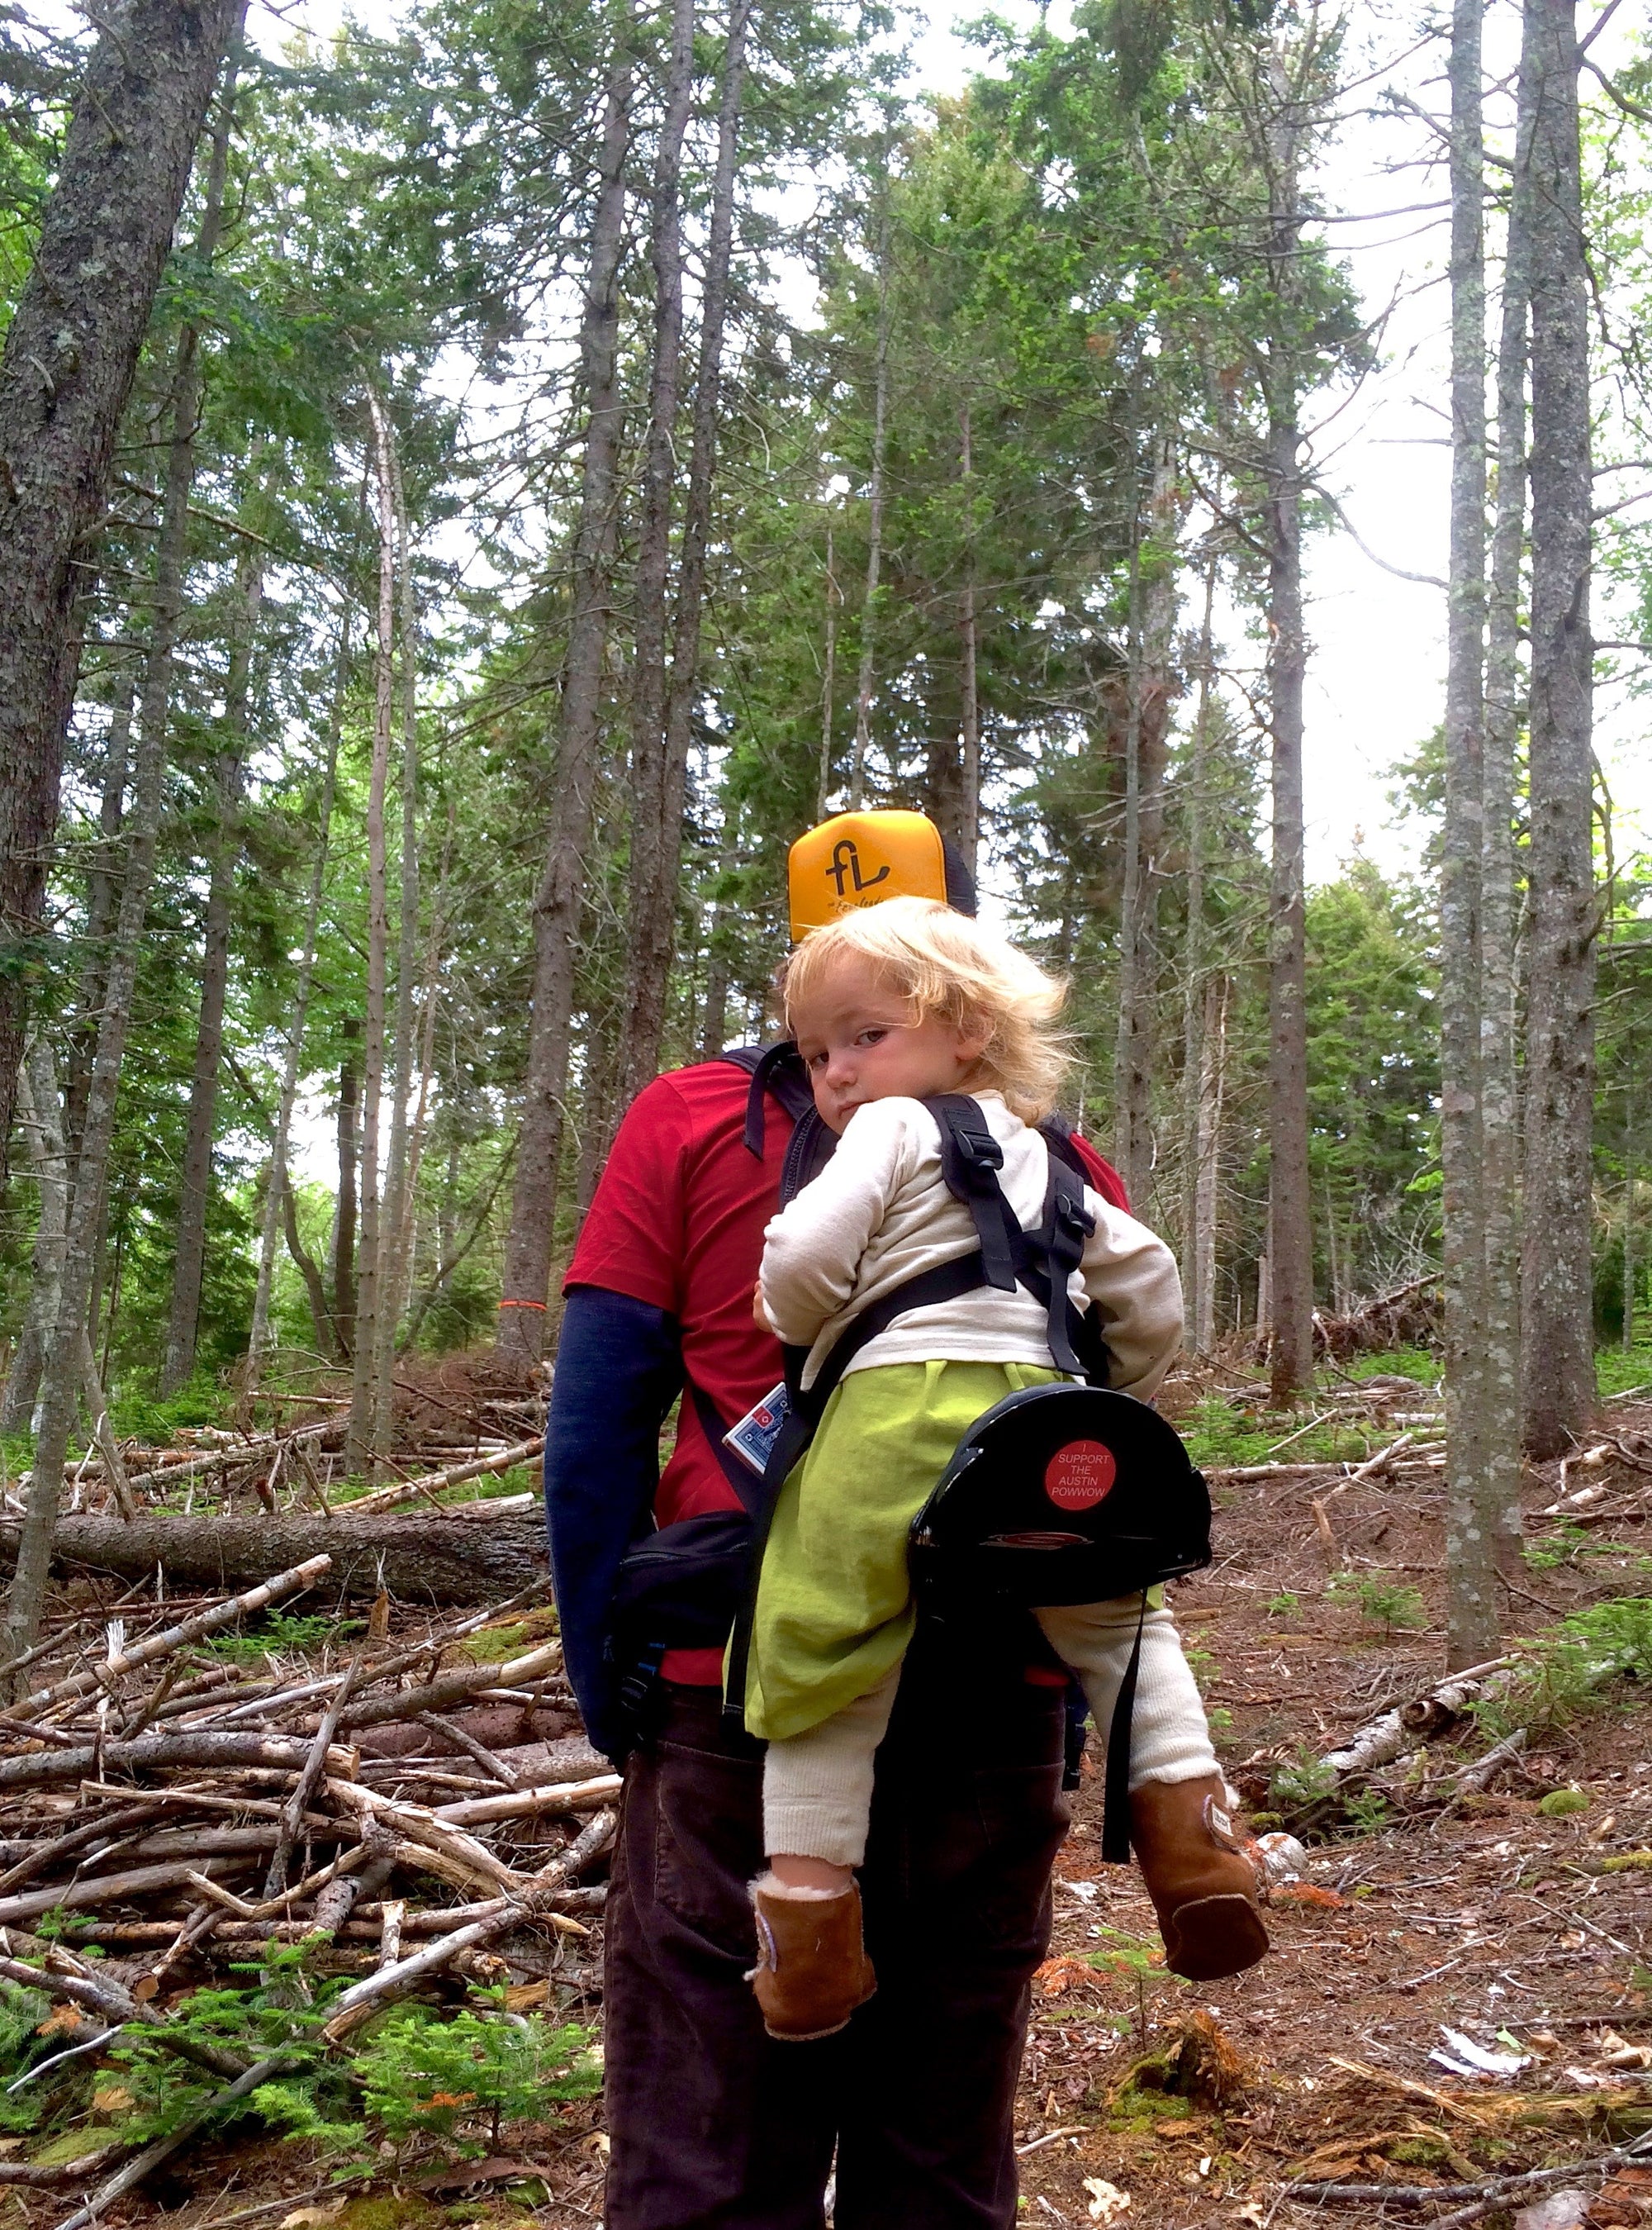
- A child carrier – Hiking with a baby or little child can difficult. Ensure you have a quality carrier to ensure those little legs to limit the adventure!
Sometimes it just refuses to walk, meaning you need to carry it back to camp – not fun. Fortunately, something like the child carrier solves this problem.
- Earplugs – If you wake up easily, I suggest you bring earplugs.
At night, you may hear weird animal noises. In the morning, the birds may wake you up with their songs.
- Pillow – If you can, bring your pillow from home. If you’re backpacking, I suggest you bring an inflatable pillow.
Alternatively, you can use a stuff sack with clothes as a pillow. It saves you some weight and space too.
- Clothes – Don’t sleep in the clothes that you hiked all day with. Instead, bring your pajamas.
Keep your sandals close for when you have to pee in the middle of the night. To minimize this hassle, go to the bathroom twice before bed.
- Light – Bring a source of light and keep it near you during the night.
You don’t want to look for it when you have to pee.
- Water – The same can be said for water – keep it close.
READ the remainder of the article by Link to Nature here
Also in Blog


Top 10 Best Family Hikes in California: Easy Trails for Kids and Parents
California offers family hikes through giant redwoods, waterfall-filled valleys, dramatic coastlines, and surreal desert landscapes. These 10 trails provide memorable scenery without requiring children to complete an all-day trek. Use this guide to find a hike that matches your child’s experience and endurance.


How Much Weight Can a Child Carrier Hold? Weight Limits Explained for Parents
Not every child carrier is built to support the same amount of weight. Understanding how manufacturers determine weight limits—and why those limits matter—can help you choose a carrier that keeps both parent and child comfortable while extending your family's adventures.